前言
在另一篇博文 Spring Boot2 实战系列之RESTful Web Service 中我们构建了一个 restful 风格的项目,并用 postman 来围绕 HTTP 动词 GET,POST,PUT,DELETE 对员工信息展开 CURD 操作。那么在实际项目中,如果我们想调用别人提供的 resultful api 来请求网络资源应该怎样做呢,很多人会想到用 httpclient,但是使用 httpclient 代码比较复杂,冗余代码多,相比之下,Spring 框架提供的 RestTemplate 类可用于在应用中调用 REST 服务, 它提供了许多比较简便的访问远程 HTTP 服务的方法,从而提高了客户端的开发效率。
RestTemplate 类是为调用REST服务而设计的,它的主要方法与 HTTP 协议方法紧密相连, 比如它有 headForHeaders()、getForObject()、postForObject()、put()和delete()等方法。
下面通过一个页面操作例子来演示 RestTemplate 的使用。
注意:在启动该项目前,先启动另一篇博文中构建的 RESTful service 项目。
创建项目
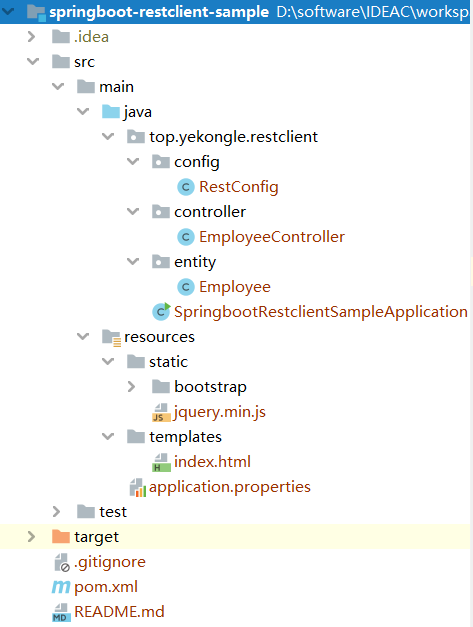
项目结构图如下:
![]()
pom 依赖文件如下:
1
2
3
4
5
6
7
8
9
10
11
12
13
14
15
16
17
18
19
20
21
22
23
24
25
26
27
28
29
30
31
32
33
34
35
36
37
38
39
40
41
42
43
44
45
46
47
48
49
50
51
52
53
54
55
56
57
58
59
60
61
62
63
64
| <?xml version="1.0" encoding="UTF-8"?>
<project xmlns="http://maven.apache.org/POM/4.0.0" xmlns:xsi="http://www.w3.org/2001/XMLSchema-instance"
xsi:schemaLocation="http://maven.apache.org/POM/4.0.0 https://maven.apache.org/xsd/maven-4.0.0.xsd">
<modelVersion>4.0.0</modelVersion>
<parent>
<groupId>org.springframework.boot</groupId>
<artifactId>spring-boot-starter-parent</artifactId>
<version>2.2.5.RELEASE</version>
<relativePath/>
</parent>
<groupId>top.yekongle</groupId>
<artifactId>springboot-restclient-sample</artifactId>
<version>0.0.1-SNAPSHOT</version>
<name>springboot-restclient-sample</name>
<description>Rest client project for Spring Boot</description>
<properties>
<java.version>1.8</java.version>
</properties>
<dependencies>
<dependency>
<groupId>org.springframework.boot</groupId>
<artifactId>spring-boot-starter-thymeleaf</artifactId>
</dependency>
<dependency>
<groupId>org.springframework.boot</groupId>
<artifactId>spring-boot-starter-web</artifactId>
</dependency>
<dependency>
<groupId>org.springframework.boot</groupId>
<artifactId>spring-boot-devtools</artifactId>
<scope>runtime</scope>
<optional>true</optional>
</dependency>
<dependency>
<groupId>org.projectlombok</groupId>
<artifactId>lombok</artifactId>
<optional>true</optional>
</dependency>
<dependency>
<groupId>org.springframework.boot</groupId>
<artifactId>spring-boot-starter-test</artifactId>
<scope>test</scope>
<exclusions>
<exclusion>
<groupId>org.junit.vintage</groupId>
<artifactId>junit-vintage-engine</artifactId>
</exclusion>
</exclusions>
</dependency>
</dependencies>
<build>
<plugins>
<plugin>
<groupId>org.springframework.boot</groupId>
<artifactId>spring-boot-maven-plugin</artifactId>
</plugin>
</plugins>
</build>
</project>
|
代码编写
application.properties, 全局配置
1
2
3
4
5
6
7
8
9
10
11
12
13
|
server.port=8090
spring.thymeleaf.prefix=classpath:/templates/
spring.thymeleaf.suffix=.html
spring.thymeleaf.mode=HTML
spring.thymeleaf.encoding=UTF-8
spring.thymeleaf.cache=false
|
RestConfig.java, RestTemplate 配置,加入到 spring bean中
1
2
3
4
5
6
7
8
9
10
11
12
13
14
15
16
17
18
19
20
21
| package top.yekongle.restclient.config;
import java.time.Duration;
import org.springframework.boot.web.client.RestTemplateBuilder;
import org.springframework.context.annotation.Bean;
import org.springframework.context.annotation.Configuration;
import org.springframework.web.client.RestTemplate;
@Configuration
public class RestConfig {
@Bean
public RestTemplate restTemplate(RestTemplateBuilder builder) {
return builder
.setConnectTimeout(Duration.ofMillis(3000))
.setReadTimeout(Duration.ofMillis(5000))
.build();
}
}
|
Employee.java, 员工实体类
1
2
3
4
5
6
7
8
9
10
11
12
13
14
15
16
17
18
| package top.yekongle.restclient.entity;
import org.springframework.web.servlet.support.ServletUriComponentsBuilder;
import lombok.Data;
@Data
public class Employee {
private Long id;
private String name;
private String role;
private String uri;
public String getUri() {
return ServletUriComponentsBuilder.fromCurrentRequest().path("/{id}").buildAndExpand(this.getId()).toUri().toString();
}
}
|
EmployeeController.java, 控制器,对员工信息进行 CURD 操作
1
2
3
4
5
6
7
8
9
10
11
12
13
14
15
16
17
18
19
20
21
22
23
24
25
26
27
28
29
30
31
32
33
34
35
36
37
38
39
40
41
42
43
44
45
46
47
48
49
50
51
52
53
54
55
56
57
58
59
60
61
62
63
64
65
66
67
68
69
70
71
72
73
74
75
76
77
78
79
80
81
82
83
84
85
86
87
88
89
90
91
| package top.yekongle.restclient.controller;
import java.util.Arrays;
import java.util.HashMap;
import java.util.List;
import java.util.Map;
import org.springframework.beans.factory.annotation.Autowired;
import org.springframework.http.HttpStatus;
import org.springframework.http.MediaType;
import org.springframework.http.ResponseEntity;
import org.springframework.stereotype.Controller;
import org.springframework.ui.Model;
import org.springframework.web.bind.annotation.DeleteMapping;
import org.springframework.web.bind.annotation.GetMapping;
import org.springframework.web.bind.annotation.PathVariable;
import org.springframework.web.bind.annotation.PostMapping;
import org.springframework.web.bind.annotation.PutMapping;
import org.springframework.web.bind.annotation.RequestBody;
import org.springframework.web.bind.annotation.RequestMapping;
import org.springframework.web.bind.annotation.ResponseBody;
import org.springframework.web.client.RestTemplate;
import lombok.extern.slf4j.Slf4j;
import top.yekongle.restclient.entity.Employee;
@Slf4j
@Controller
public class EmployeeController {
@Autowired
private RestTemplate restTemplate;
@GetMapping("/employees")
public String employees(Model model) {
log.info("Get mapping");
final String uri = "http://localhost:8080/employees";
Employee[] employees = restTemplate.getForObject(uri, Employee[].class);
List<Employee> employeeList = Arrays.asList(employees);
log.info("employeeList:{}", employeeList.toString());
model.addAttribute("title", "员工列表");
model.addAttribute("employees", employeeList);
model.addAttribute("addEmployee", "新增员工");
return "index";
}
@RequestMapping(value = "/employees/{id}")
public String deleteEmployee(@PathVariable Long id) {
final String uri = "http://localhost:8080/employees/{id}";
Map<String, String> params = new HashMap<String, String>();
params.put("id", String.valueOf(id));
restTemplate.delete(uri, params);
return "redirect:/employees";
}
@PostMapping(value = "/employees")
public ResponseEntity<?> newEmployee(@RequestBody Employee newEmployee) {
log.info("Post mapping");
log.info("New employee:{}", newEmployee.toString());
final String uri = "http://localhost:8080/employees";
restTemplate.postForObject(uri, newEmployee, Employee.class);
return ResponseEntity.ok().build();
}
@PutMapping(value = "/employees/{id}")
public ResponseEntity<?> updateEmployee(@RequestBody Employee updatedEmployee, @PathVariable Long id) {
log.info("Put mapping");
final String uri = "http://localhost:8080/employees/{id}";
Map<String, String> params = new HashMap<String, String>();
params.put("id", String.valueOf(id));
restTemplate.put(uri, updatedEmployee, params);
return ResponseEntity.ok().build();
}
}
|
index.html, 员工信息操作页面
1
2
3
4
5
6
7
8
9
10
11
12
13
14
15
16
17
18
19
20
21
22
23
24
25
26
27
28
29
30
31
32
33
34
35
36
37
38
39
40
41
42
43
44
45
46
47
48
49
50
51
52
53
54
55
56
57
58
59
60
61
62
63
64
65
66
67
68
69
70
71
72
73
74
75
76
77
78
79
80
81
82
83
84
85
86
87
88
89
90
91
92
93
94
95
96
97
98
99
100
101
102
103
104
105
106
107
108
109
110
111
112
113
114
115
116
117
118
119
120
121
122
123
124
125
126
127
128
129
130
131
132
133
134
135
136
137
138
139
140
141
142
143
144
145
146
147
148
149
150
151
152
153
154
155
156
157
158
159
160
161
162
163
164
165
166
167
168
169
170
171
172
173
| <html xmlns:th="http://www.thymeleaf.org">
<head>
<meta content="text/html;charset=UTF-8" />
<meta http-equiv="X-UA-Compatible" content="IE=edge" />
<meta name="viewport" content="width=device-width, initial-scale=1" />
<link th:href="@{bootstrap/css/bootstrap.min.css}" rel="stylesheet" />
</head>
<body>
<div class="container">
<div class="panel panel-primary">
<div class="panel-heading">
<h3 class="panel-title" th:text="${title}">title</h3>
</div>
<div class="panel-body">
<div th:if="${not #lists.isEmpty(employees)}">
<table class="table table-bordered table-hover">
<thead>
<tr>
<th>ID</th>
<th>姓名</th>
<th>职位</th>
<th>操作</th>
</tr>
</thead>
<tbody>
<tr th:each="employee: ${employees}">
<td th:text="${employee.id}" onclick="tdclick(this)">ID</td>
<td class="name" th:text="${employee.name}" onclick="tdclick(this)">Name</td>
<td class="role" th:text="${employee.role}" onclick="tdclick(this)">Role</td>
<td> <a class ="update" th:url="${employee.uri}">更改</a> | <a class ="delete" th:href="${employee.uri}">删除</a></td>
</tr>
</tbody>
</table>
</div>
</div>
</div>
<div class="panel panel-primary">
<div class="panel-heading">
<h3 class="panel-title" th:text="${addEmployee}">addEmployee</h3>
</div>
<div class="panel-body">
<form>
<div class="row">
<div class="form-group col-md-6">
<label for="name">姓名</label> <input type="text"
class="form-control" id="name">
</div>
</div>
<div class="row">
<div class="form-group col-md-6">
<label for="role">职位</label> <input type="text"
class="form-control" id="role">
</div>
</div>
<div class="row">
<div class="form-group col-md-6">
<button id ="submit" type="button" class="btn btn-primary">新增</button>
</div>
</div>
</form>
</div>
</div>
</div>
<script th:src="@{jquery.min.js}" type="text/javascript"></script>
<script th:src="@{bootstrap/js/bootstrap.min.js}"></script>
<script th:inline="javascript">
var title = [[${title}]];
console.log(title);
$("#submit").on("click", function () {
console.log("click");
var name = $("#name").val();
var role = $("#role").val();
$.ajax({
url: "/employees",
type : "POST",
contentType: "application/json;charset=utf-8",
data: JSON.stringify({'name': name, 'role': role}),
success: function (data) {
$.ajax({
url: "/employees",
type: "GET",
success: function (data) {
location.reload();
}
});
},
error: function () {
console.log("error");
}
});
});
$("a.update").each(function() {
$(this).on("click", function () {
var updateUrl = $(this).attr("url");
var name = $(this).parent().siblings(".name").html();
var role = $(this).parent().siblings(".role").html();
$.ajax({
url: updateUrl,
type: "PUT",
contentType: "application/json;charset=utf-8",
data: JSON.stringify({'name': name, 'role': role}),
success: function (data) {
alert("Update success!");
$.ajax({
url: "/employees",
type : "GET",
success: function (data) {
location.reload();
}
});
}
});
});
});
function tdclick(tdobject) {
var td=$(tdobject);
td.attr("onclick", "");
var text=td.text();
td.html("");
var input=$("<input>");
input.attr("value", text);
input.bind("blur",function(){
var inputnode=$(this);
var inputtext=inputnode.val();
var tdNode=inputnode.parent();
tdNode.html(inputtext);
tdNode.click(tdclick);
td.attr("onclick", "tdclick(this)");
});
input.keyup(function(event){
var myEvent =event||window.event;
var kcode=myEvent.keyCode;
if(kcode==13){
var inputnode=$(this);
var inputtext=inputnode.val();
var tdNode=inputnode.parent();
tdNode.html(inputtext);
tdNode.click(tdclick);
}
});
td.append(input);
var t =input.val();
input.val("").focus().val(t);
td.unbind("click");
}
</script>
</body>
</html>
|
运行演示
首先启动 Restful service 项目,默认在 8080 端口
然后启动 Restful client 项目,在 8090 端口
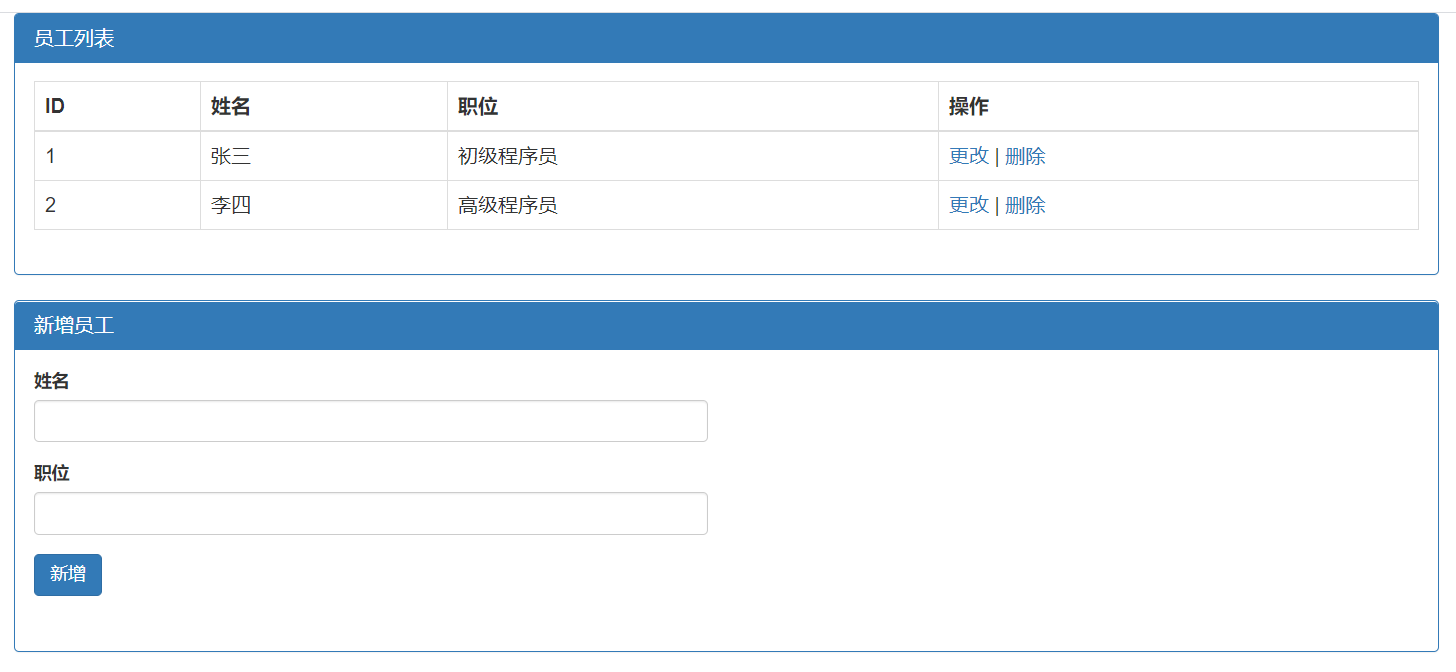
访问 http://localhost:8090/employees, 获取员工信息列表
![]()
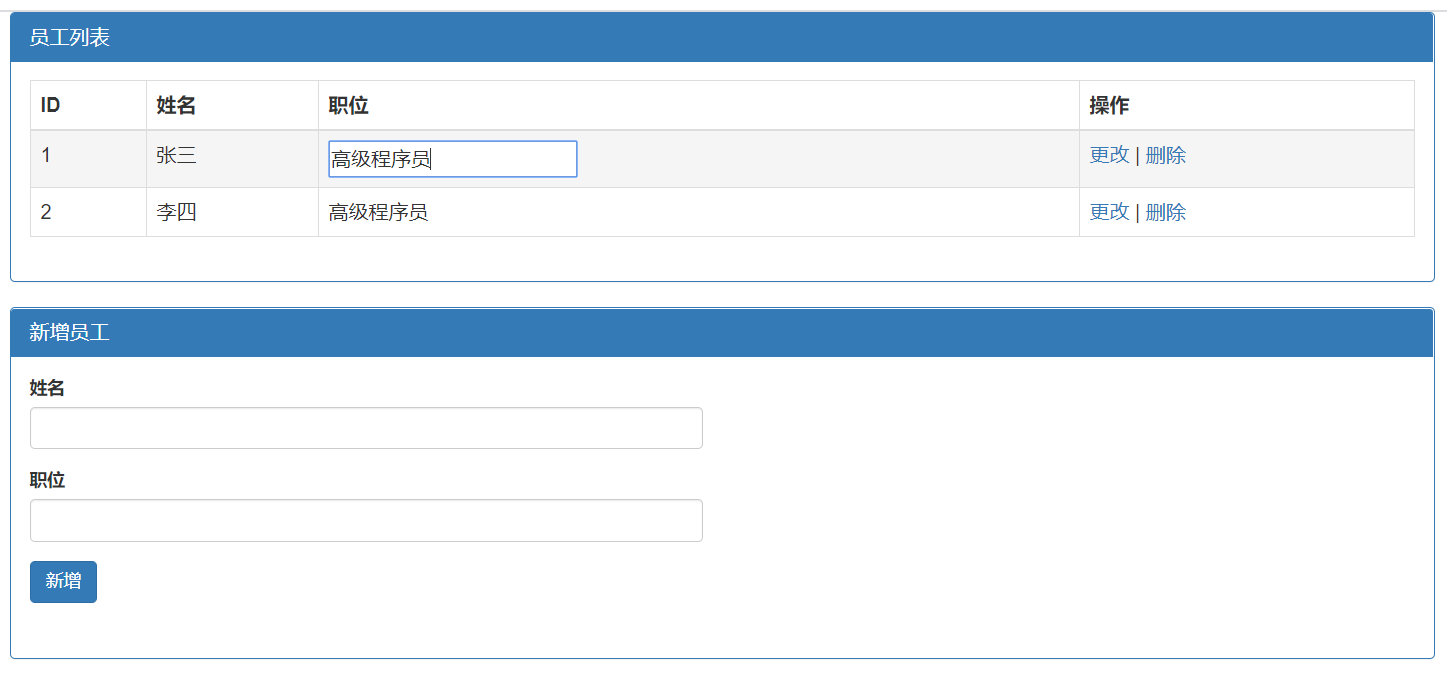
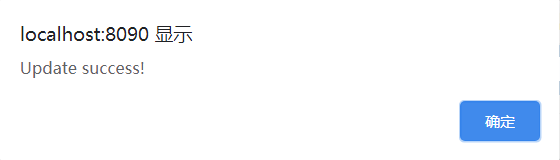
双击员工信息字段进行更改,然后点击右侧 “更改”
![]()
![]()
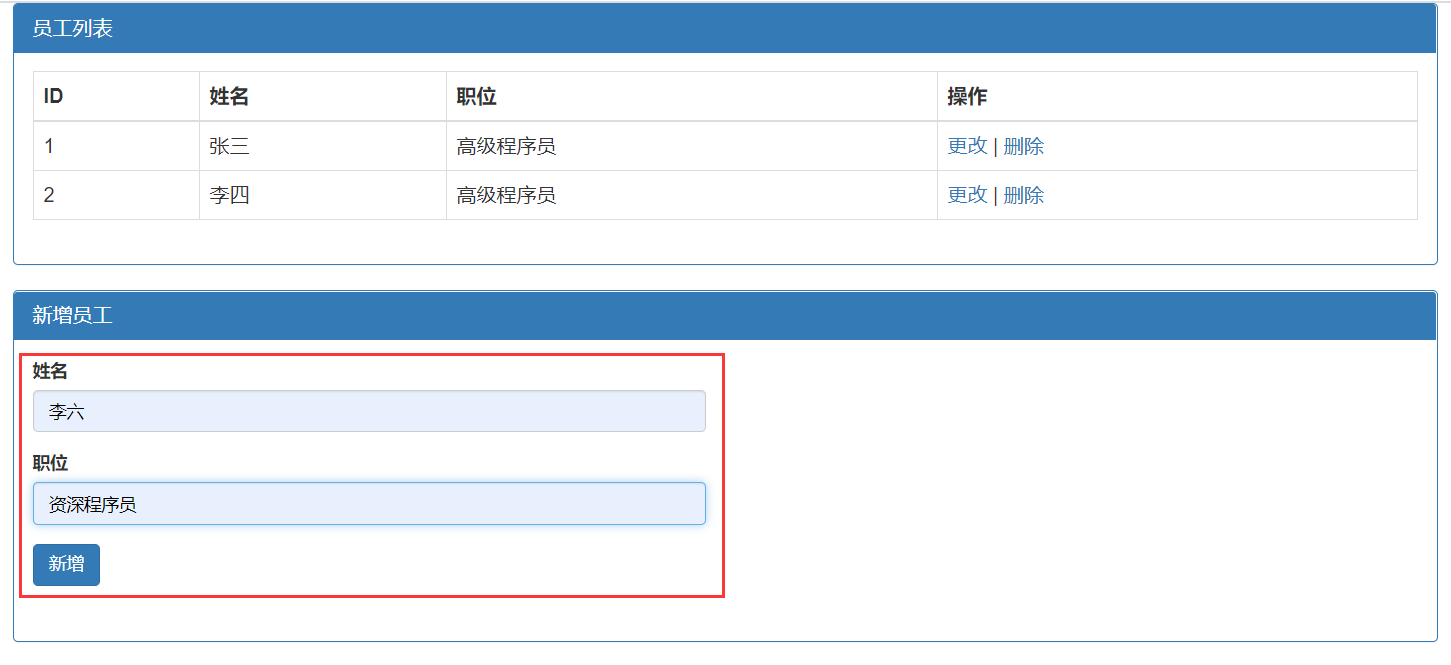
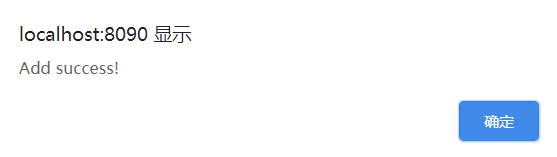
新增员工信息
![]()
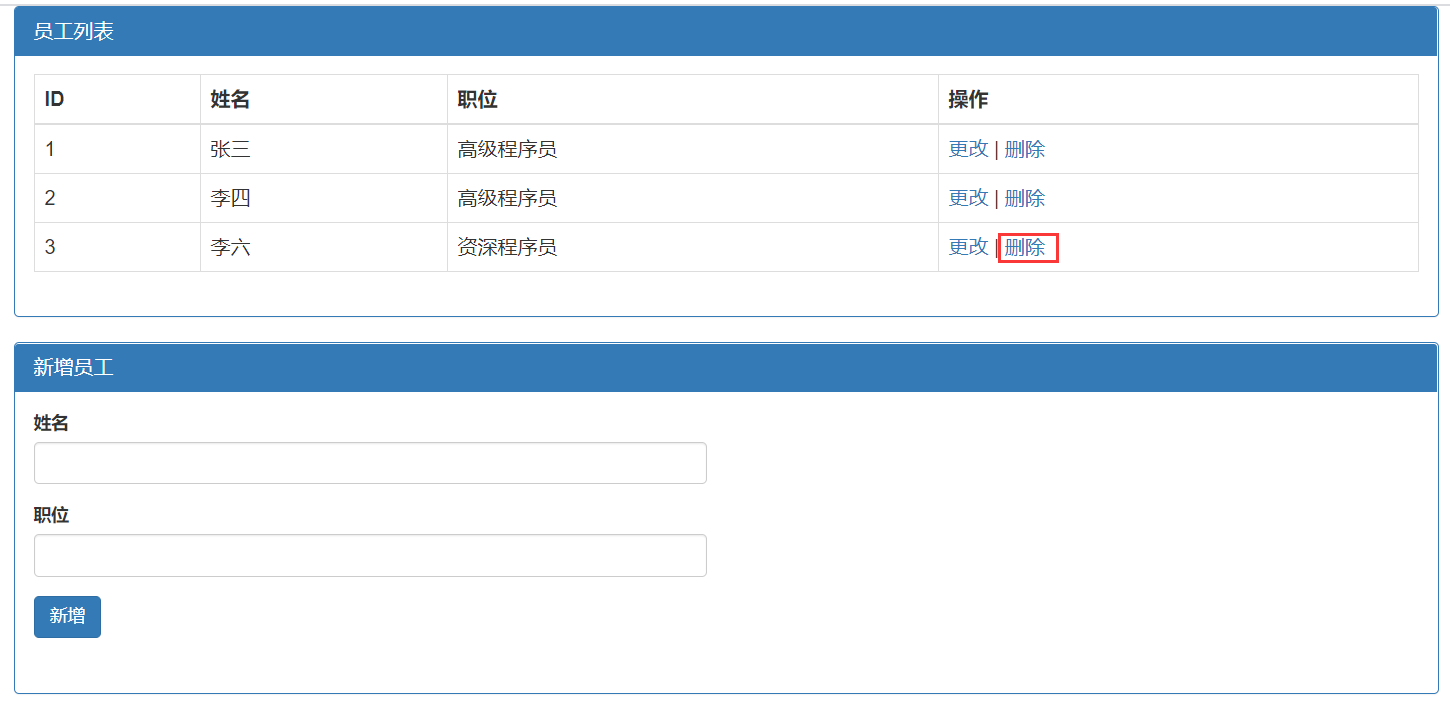
![]()
删除员工信息
![]()
项目已上传至 Github: https://github.com/yekongle/springboot-code-samples/tree/master/springboot-restclient-sample , 希望对小伙伴们有帮助哦。
参考链接:
https://www.cnblogs.com/f-anything/p/10084215.html